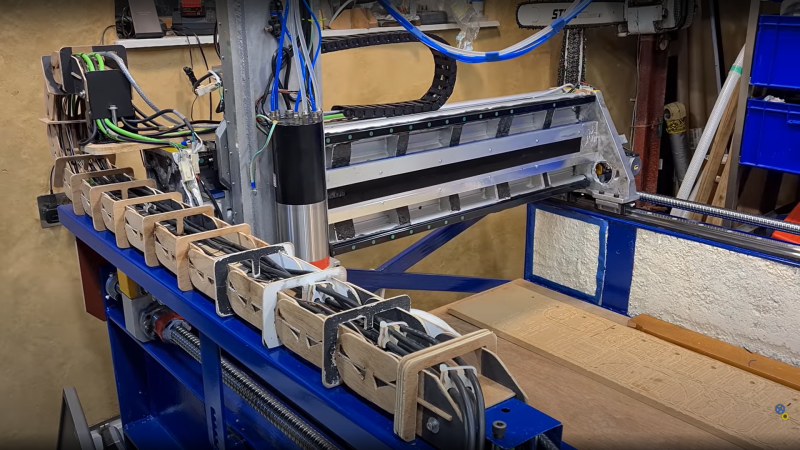
[FloweringElbow] aka [Bongo] on YouTube is certainly having a go at this, and we reckon he’s onto a winner! This epic flatbed CNC build (video, embedded below) starts with some second hand structural I-beam, with welded-on I-beam legs, DIY cast aluminium side plates and plenty of concrete to give a strong and importantly, heavy structure.
The ideal machine is as rigid as possible, and heavy, to dampen out vibrations caused by high-feed speed cutting, or the forces due to cutting harder materials, so bigger really is better. For construction of the frame, steel is pretty strong, and the mass of the structure gives it additional damping, but triangulation was needed to counteract additional twisting. He stitch-welded the pre-heated frame in inch-long sections to limit the heat transferred into the metal, minimizing the subsequent warpage. [Bongo] used hacky Vibratory stress relief (VSR) constructed from a washing machine motor and eccentric weight, clamped to the frame, with feedback from a mobile phone app to find the resonant frequencies. There are other videos on the channel devoted to that topic of such stress relief techniques.

When it came time for adding even more mass, a priming coat was made from a mixture of bonding epoxy and sharp grit, intended for non-slip flooring. The concrete mix used Portland cement, pozzolan (Silica fume) polycarboxylate superplasticiser and 1/2″ glass fibre threads. A second mix added crushed stone for additional mass. A neat trick was to make a handheld vibratory compactor from a plate welded onto the end of old drill bit, mounted in an SDS hammer drill.
Once the frame was flipped the right way up (collapsing the overloaded hoist in the process) it was necessary to level the top surface to accept the linear rails. This was done using a super runny, self-levelling epoxy, and checked by flowing water over it. Once the epoxy surfaces were adequately flat and coplanar (and much scraping later) the linear rails were attached, after creating some epoxy shoulders for them to butt up against. End plates to attach the Y axis lead screws, were added by bolting into the frame with a grit-loaded epoxy bond in between.
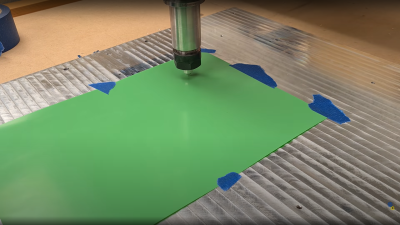
The gantry design was skipped for this video (but you can see that here) and once mounted a quick test showed the machine was viable. One curious task was making their own cable-chain from ply, on the machine itself, rather than buying something expensive off-the-peg. Why not? Once the machine was working well enough to mill a flat sheet of steel to nice reflective surface, it was used to mount a DIY drag-knife to cut out shapes in some vinyl, so it has the precision. We did like seeing an XBox controllor used to manually jog the machine around! So much to see in this build and other related videos, we reckon this channel is one to watch!
We’ve featured CNC builds many a time, there’s a build whatever your needs and budget, but here’s a good starting point to build a machine, just good enough to build the tools you need. If you don’t happen to have a source of structural I-beam to hand, you can do something quite capable with wood, and if you fancy a go at 3D printing a knee mill, we’ve got that covered as well.
Can You Build An Industrial grade CNC With Only DIY Resources?
Source: Manila Flash Report
0 Comments