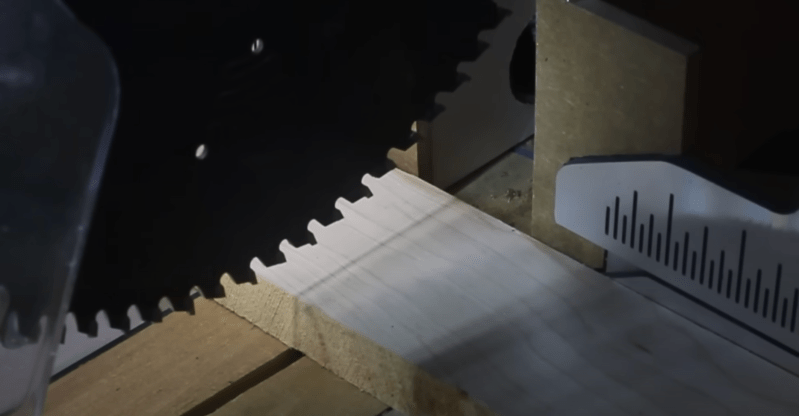
If you’ve bought a miter saw in the past few years, you might have noticed the LED “laser” that came with it. The goal was to show where on the piece the saw was going to cut. But over a year or two, you might have found the laser to have drifted or skewed into a crooked line. [Fisher] decided that his after-market laser wasn’t entirely accurate enough and added a shadow line instead. (Video, embedded below the break.)
The blade has a thickness (known as kerf), and with a laser to one side, you can only accurately cut on one side of the line. A shadow line works differently. By shining a line at the top of the blade, you get a mark where the blade will cut precisely. You can also see your marks as the laser doesn’t shine over them. Previously, [Fisher] had tried to use LED strips, but after a comment suggested it, he found a sewing light on a gooseneck. It worked great as a small compact light fitting the blade housing. After some quick modifications, hot glue, and duct tape, the light was installed, and the wires were routed while still allowing the saw its full range of motion.
The result is impressive, with a clear shadow on even darker hardwoods. Just the few test cuts he made seemed entirely accurate. Of course, you can always go deeper down the hole of accuracy and measurement. But overall, [Fisher] has a great little mod that speeds up his workflow more accurately.
If The Blade Sees Its Shadow, It’s Another 64th of Accuracy
Source: Manila Flash Report
0 Comments