Some professional coders are absolutely adamant that learning to program in assembly language in these modern times is simply a waste of time, and this post is not for them. This is for the rest of us, who still think there is value in knowing at a low level what is going on, a deeper appreciation can be developed. [Philippe Gaultier] was certainly in this latter camp and figured the best way to learn was to work on a substantial project.
Now, there are some valid reasons to write directly in assembler; for example hand-crafting unusual code sequences for creating software exploits would be hindered by an optimising compiler. Creating code optimised for speed and size is unlikely to be among those reasons, as doing a better job than a modern compiler would be a considerable challenge. Some folks would follow the tried and trusted route and work towards getting a “hello world!” output to the console or a serial port, but not [Philippe]. This project aimed to get a full-custom GUI application running as a client to the X11 server running atop Linux, but the theory should be good for any *nix OS.

The first part of the process was to create a valid ELF executable that Linux would work with. Using nasm to assemble and the standard linker, only a few X86_64 instructions are needed to create a tiny executable that just exits cleanly. Next, we learn how to manipulate the stack in order to set up a non-trivial system call that sends some text to the system STDOUT.
To perform any GUI actions, we must remember that X11 is a network-orientated system, where our executable will be a client connected via a socket. In the simple case, we just connect the locally created socket to the server path for the local X server, which is just a matter of populating the sockaddr_un data structure on the stack and calling the connect() system call.
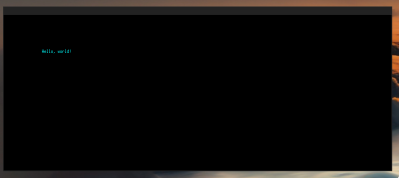
Now the connection is made, we can follow the usual X11 route of creating client ids, then allocating resources using them. Next, fonts are opened, and a graphical context is created to use it to create a window. Finally, after mapping the window, something will be visible to draw into with subsequent commands. X11 is a low-level GUI system, so there are quite a few steps to create even the most simple drawable object, but this also makes it quite simple to understand and thus quite suited to such a project.
We applaud [Phillip] for the fabulous documentation of this learning hack and can’t wait to see what’s next in store!
Not too long ago, we covered Snowdrop OS, which is written entirely in X86 assembly, and we also found out a thing or two about some oddball X86 instructions. We’ve also done our own Linux assembly primer.
Learning x86_64 Assembly By Building A GUI From Scratch
Source: Manila Flash Report
0 Comments